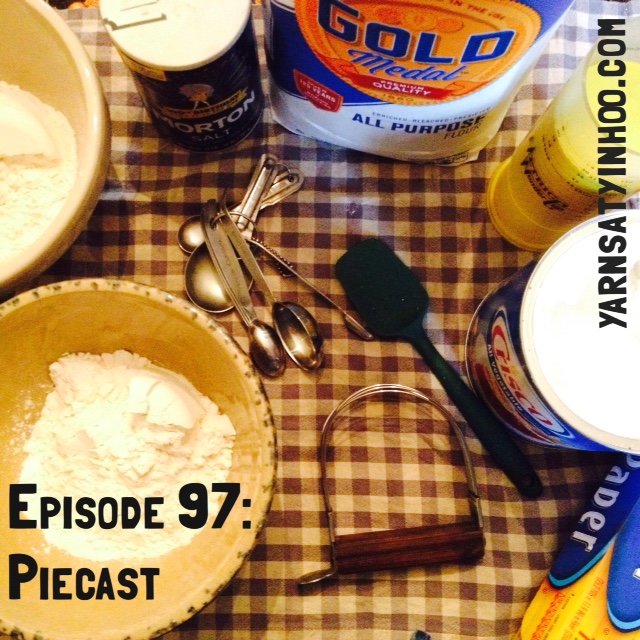
Episode 97: Piecast
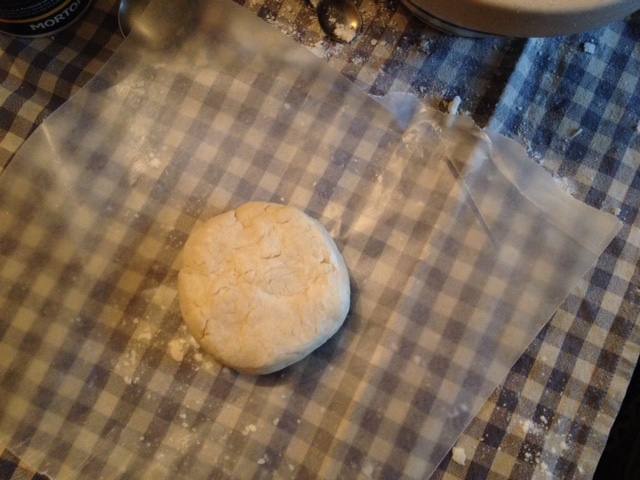
 In this episode, I’m joined by a co-host — my mom, Kathleen. She has been baking pies since her early teens and regularly contributes 14-20 pies for church dinners. Thank you to listeners who shared questions for this podcast: twinsetjan, polkadotknits, bluechinadoll, kconnors, heather01851, permagrin12, stacks, parajati, thejasperpatch, and katepricey. We tried our best to address all questions. In the hour or so we set aside to record this episode, we were plagued with interruptions. Two visitors, three phone calls, and a package delivery! These resulted in a little more editing than I anticipated, and so I wasn’t able to attribute all of the questions the way I planned. For more information about pies, you can also listen to Episode 59: Known for Pie. In addition to the photos I’ve posted below, I created a photo tutorial for making a single-crust pie shell on Instagram. You can find it by searching #powerpantry.
 CONTEST: Show Off Your Baked Goods!
A generous listener has donated a $25 gift certificate for Three Irish Girls yarn. Enter to win by posting photos of your baking in our #powerpantry discussion thread for November. You can enter as many times as you like. Chat in the thread is encouraged, but only posts with photos will be eligible for the prize.
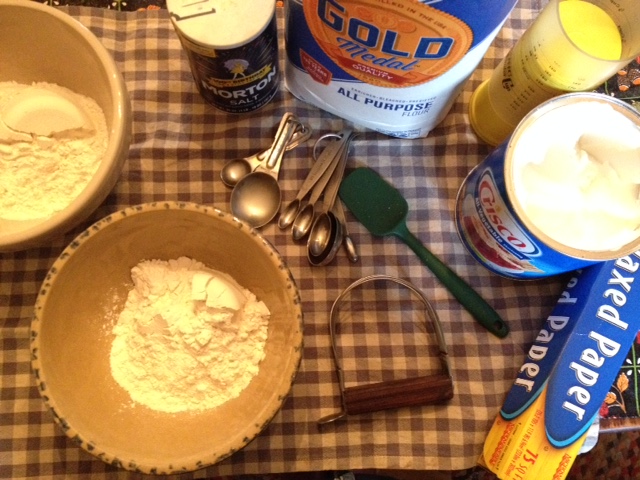
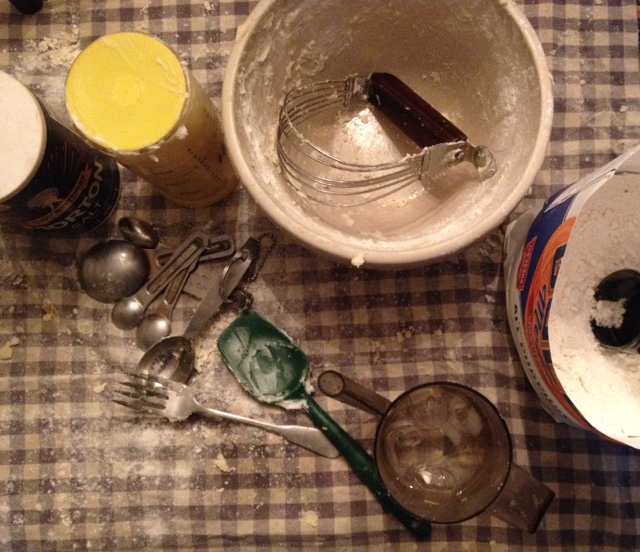
Basic Pie Crust for a Double-crust Pie
(or divide in half for two single-crust pies)
- 1 cup all-purpose flour
- 1 cup whole-wheat pastry flour
- 1 teaspoon salt
- 1 tablespoon sugar
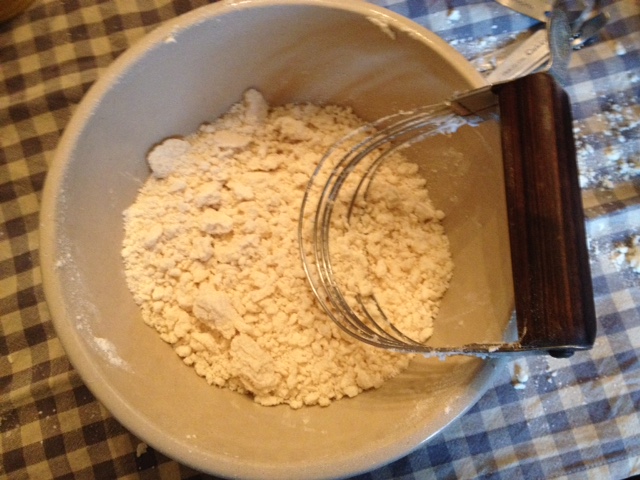
- 2/3 cup fat (lard, unsalted butter, shortening, or a combination)
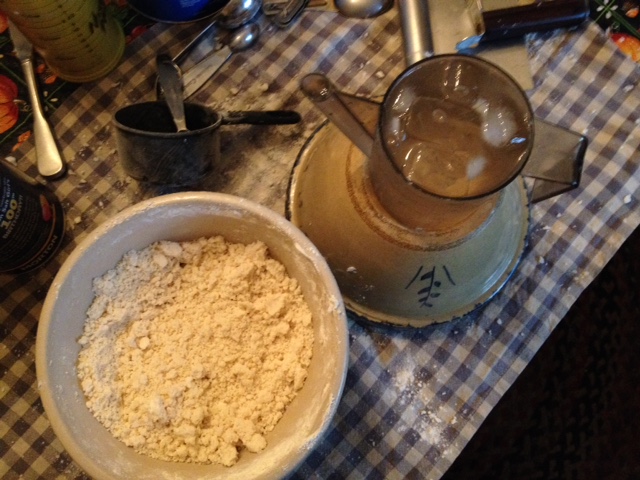
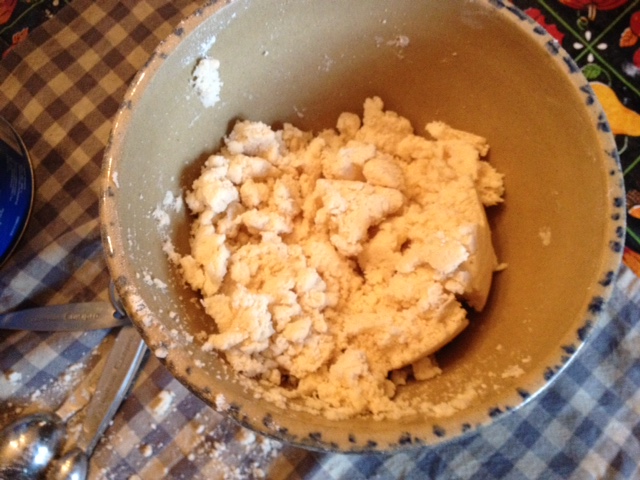
- several tablespoons ice-cold liquid (water, milk, cream or a combination)